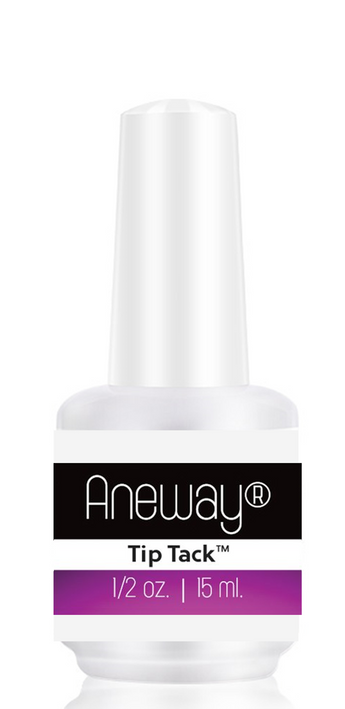

Tip Tack™ - PRE-ETCHED® PRO GEL TIP™ ADHESIVE GEL+ BONDING GEL | BASE COAT
Aneway®
Regular price
$6.95

Tip Tack™
PRO NAIL TIP™ BONDING GEL
PRO GEL TIP™ ADHESIVE GEL
UV/LED - SOAK-OFF
USE WITH TACKY TACK™ AIR DRY! LIQUID GEL BONDING SOLUTION + GELATION!™ BUILDER GEL+ "FLEX" TECHNOLOGY COMBINED WITH PRE-ETCHED® PRO NAIL TIP™ or PRE-ETCHED® PRO GEL TIP™ NAIL SYSTEMS.

CREATE THE FASTEST, EASIEST & STRONGEST GEL NAIL ENHANCEMENTS/EXTENSIONS
-
USE ON NATURAL NAILS + PRE-ETCHED® PRO NAIL TIP™ AND PRE-ETCHED® PRO GEL TIP™ NAIL SYSTEMS.
-
GELATION!™ BUILDER GEL+ FLEX! TECHNOLOGY + TACKY TACK™ (AIR DRY, BONDING SOLUTION) AND TIP TACK™ BONDING GEL WERE SPECIFICALLY DEVELOPED TO CREATE A SUPERIOR BOND WITH ULTIMATE STRENGTH AND DURABILITY COMBINED WITH PRE-ETCHED® PRO NAIL TIP™ EXTENSIONS AND WHEN APPLYING PRE-ETCHED® ULTRA "CLEAR" PRO GEL TIP™ ENHANCEMENTS.
-
UV/LED - SOAK-OFF
-
LARGE, OPAQUE WHITE, GLASS BOTTLE (1/2 OZ., .5 FL. OZ. / 15 ML.)

"A SIMPLE SYSTEM CREATED JUST FOR YOU. ABSOLUTELY STUNNING RESULTS!"
EXCLUSIVE BY ANEWAY®
PRO NAIL TIP™
Application Procedure
-
Brush-On or use the applicator tip from Miracle Bond™ Nail + Tip "FLEX" Gel Adhesive to the contact area of a PRE-ETCHED® "Well-Less" Pro Nail Tip™ - Daisy Cutter™ 2.0, Raptor™ 2.0, etc. - Natural, White or Clear. Place and adhere them where you want the smile line to be.
-
Clip to desired length.
NOTE: Wipe off excess adhesive at the smile line with a clean, dry, lint free nail wipe before filling and shaping to prevent excess debris falling into the adhesive and ruining the nail. -
File side walls and shape free edge.
-
Use a Buffer Block and/or File to remove excess tip fillings around the edges of the tips. Clean off all excess dust and filings using a Manicure Brush.
-
Apply an even coat of Tacky Tack™ Bonding Solution to the natural nail. Let dry 60 seconds (will remain SHINNY and TACKY even when dry). Optional.
-
Apply an even coat of Tip Tack™ Bonding Gel to the natural nail and the PRE-ETCHED® Pro Nail Tip™. Cap the free edge and side length edges of the nail. Cure for 30-45 seconds LED or 2 minutes UV. Do not wipe.
-
Apply an even coat of Gelation!™ Builder Gel+ FLEX technology - just like polish! Stroke and Float the gel brush over the nail surface (view below). Cure 30-45 seconds LED, 2 minutes UV.
-
Repeat (2-3 coats). Cure in between coats.
-
Wipe nail surface with a lint free wipe with gel clean-up solution after final cured coat.
-
With a PROFESSIONAL 100/180 grit nail file gently file around the cuticle area flush with the natural nail while leveling all the way down the nail length and side walls following a horse shoe type motion - around the cuticle, down the sides, from left to right, all the way down to the free edge of the nail surface. Refine the shape just the way you like it!
-
Gently buff around the cuticle and nail length surface to perfect and smooth using a block buffer.
-
Remove excess tip filings with the edge of a block buffer while smoothing. Dust off excess dust and filings using a manicure brush.
-
Wipe clean with a lint free nail wipe and gel clean-up solution.
-
Apply a thin, even finish, coat of Gelation™ making sure to cover all edges. Use a firm scrubbing motion to disperse the gel, then brush to smooth. Make sure to cover all edges. Cure.
-
Wipe nail surface clean with a lint free nail wipe with gel clean-up solution.
-
Apply Mani+Pedi™ Cuticle Oil (non-scented or scent of choice). Gently massage oil around the cuticles, top of fingers and hands. Never Sticky or Greasy!

Application Procedure


